
|
Welcome to February's tool of the month blog post, this month I take a quick look at dovetail marking guides! 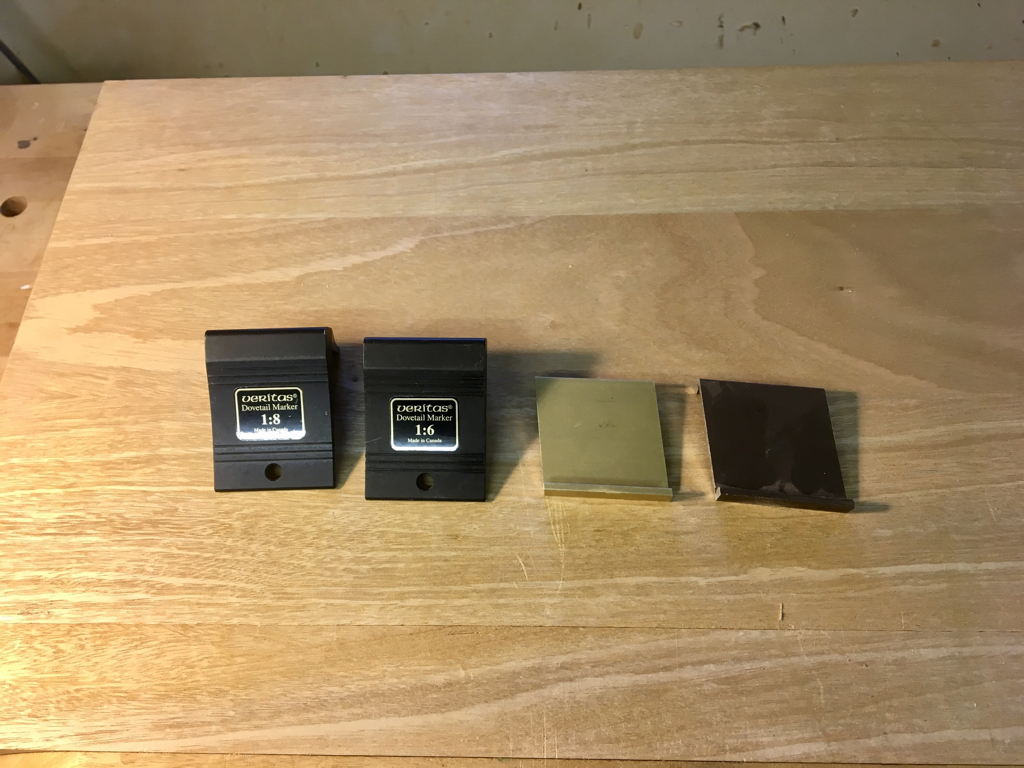 Dovetail guides are very simple laying out tools that are used to mark the correct angles needed for strong dovetail joints. The most common angles used are 1:6 (approximately 10°) for softwoods, supposedly to compensate for the generally softer more squash able grain, and 1:8 (approximately 7°) for hardwoods. Other angle ratios commonly used include 1:4 1:5 and 1:7. In reality it doesn't really matter which angle you use, it's mostly down to which one looks most aesthetically pleasing. There are lots of different dovetail marking guides on the market, ranging from simple and economical up to beautifully made but very expensive versions. You could use a sliding bevel gauge (see last months blog) or make your own guide using wood, plastic or metal! The two different guides shown in the above photograph are made from aluminium by Canadian company Veritas, they cost around £8-£11 each. 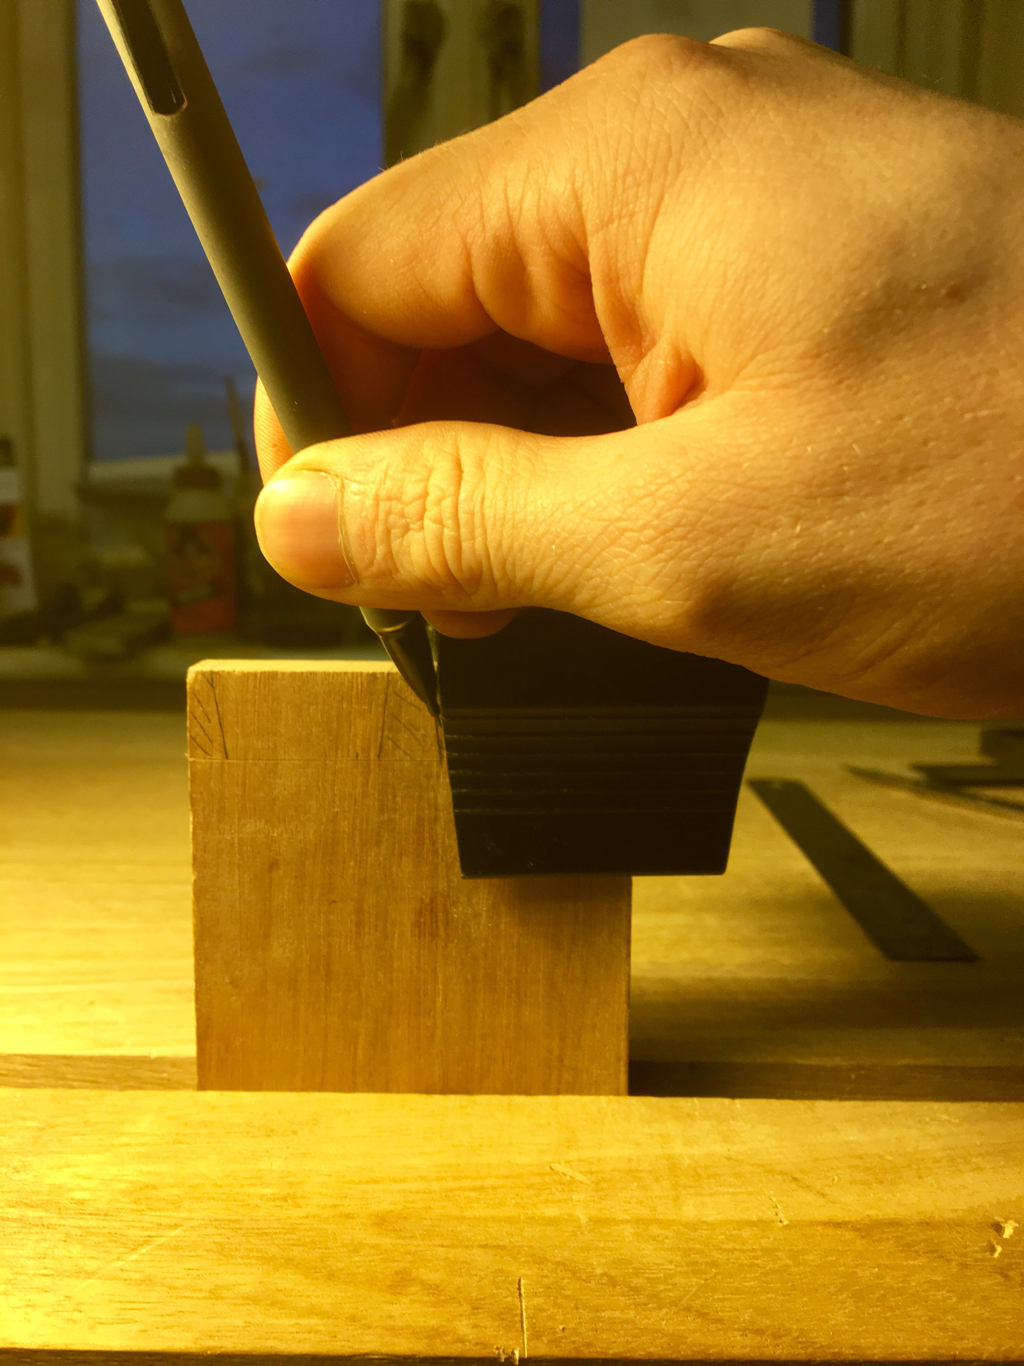 Here you can see the Veritas saddle guide being used to mark the tails of the dovetail joints. 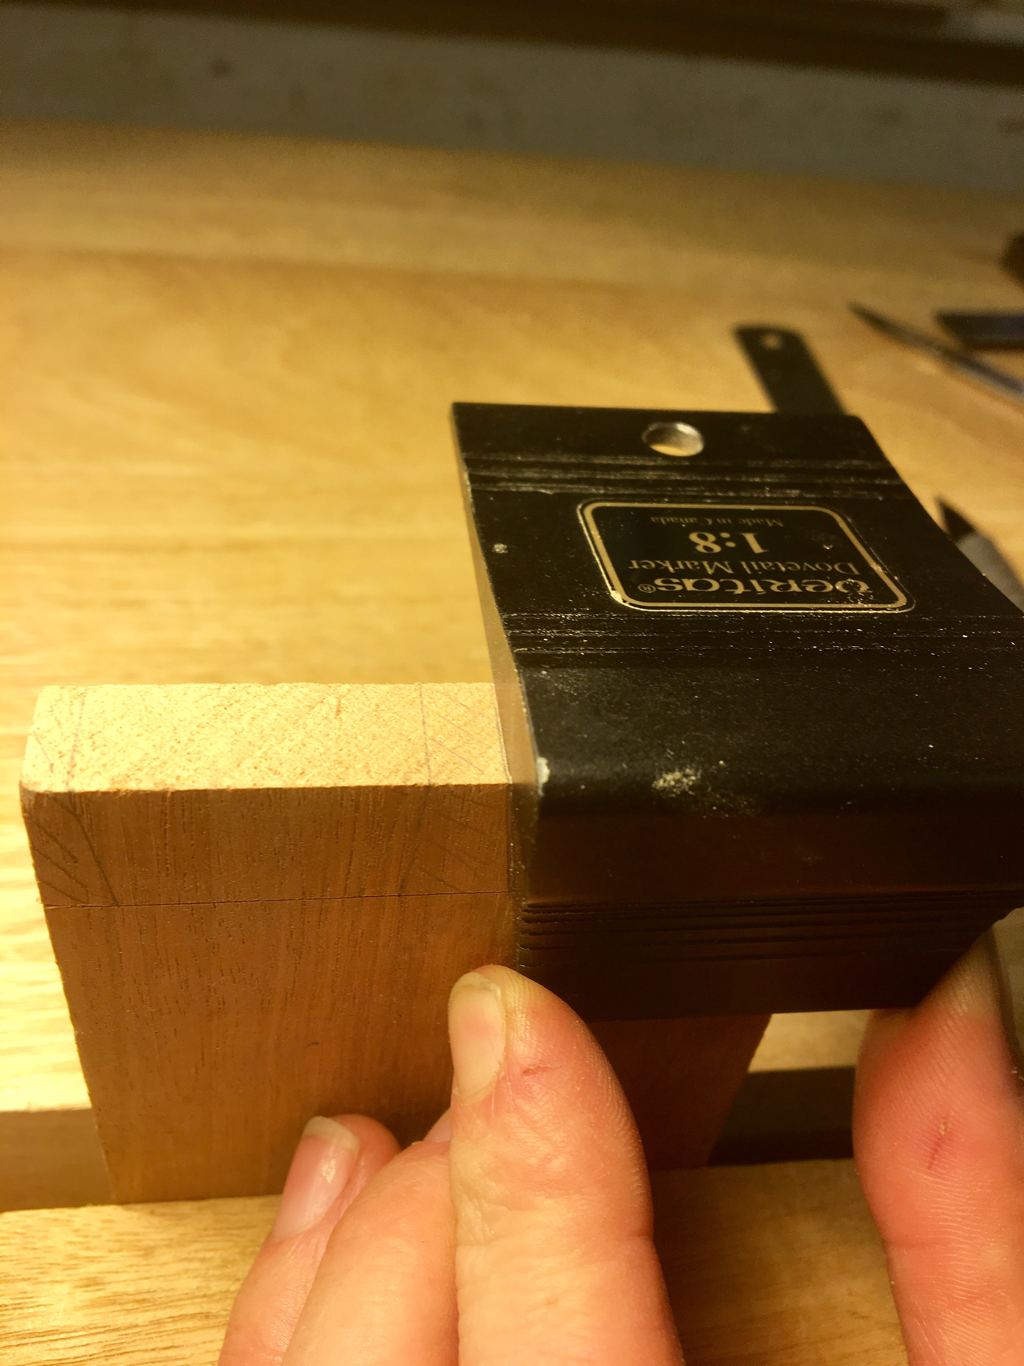 With the angles of the tails marked the guides square saddle allows the top lines to be marked simultaneously, this is pretty handy and speeds up the marking out process. Now the tails are ready to be sawn!
Thats all for February, look out for next months blog. Enjoy those pancakes 🥞
0 Comments
Welcome to the first Tool of the Month blog post of 2017! This month it's a quick look at the sliding bevel gauge. 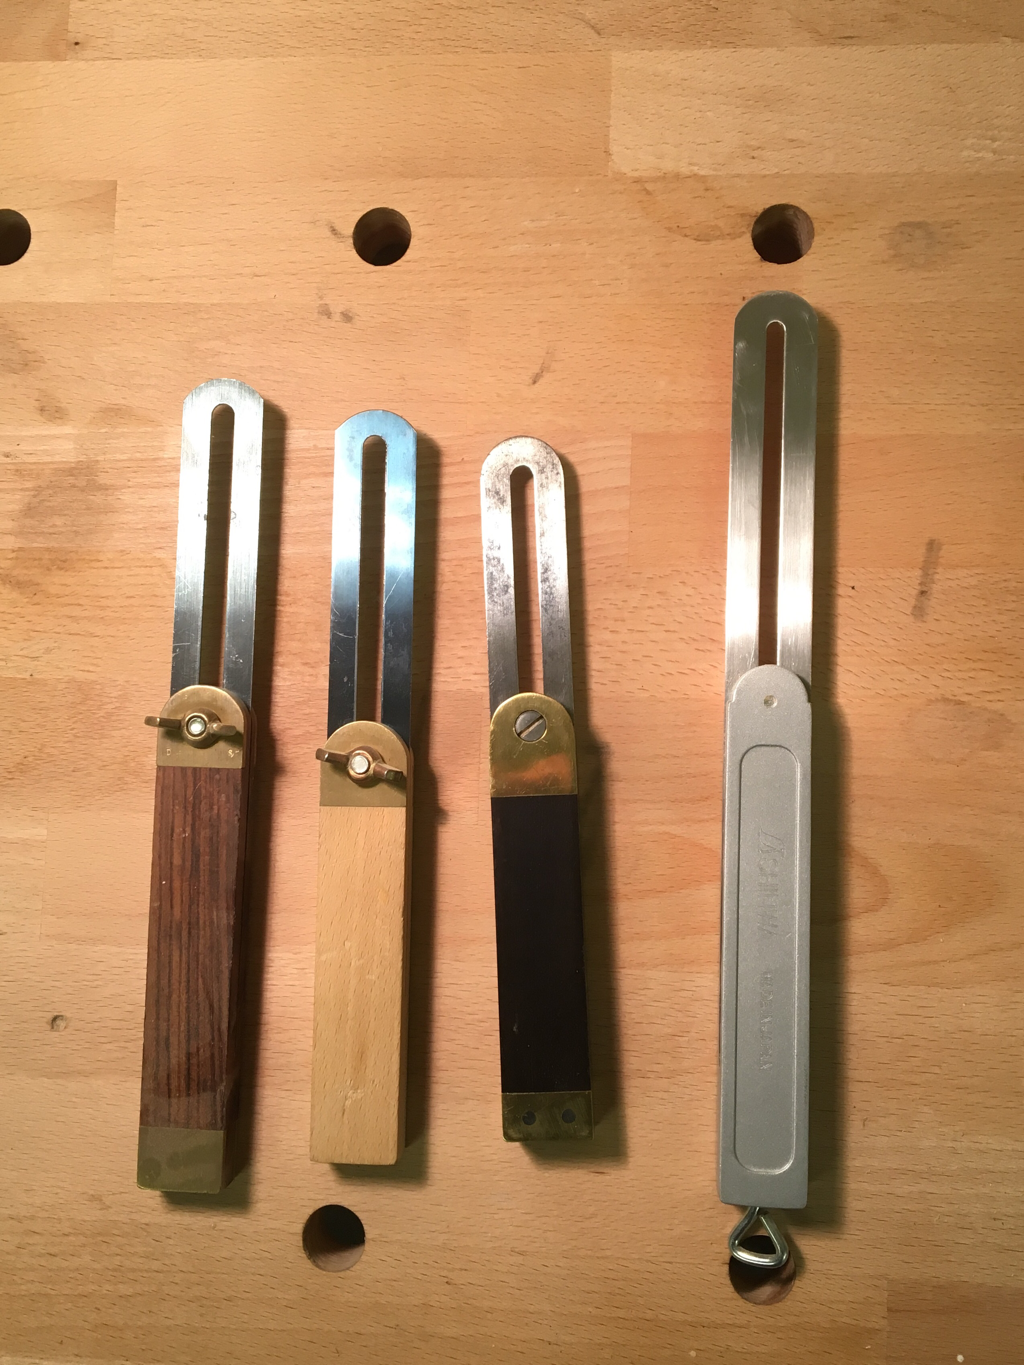 A selection of sliding bevels! The sliding bevel is an adjustable marking out tool used to accurately mark out and transfer different angles. When making a piece of furniture which includes multiple angles in its design, (for example a chair) it is very useful to have a few sliding bevels to hand which can be left set, otherwise you have to constantly set and reset for each new angle!  Japanese shinwa on the left compared to a more traditional sliding bevel gauge on the right. The blade can be held at the desired angle by tightening either a screw or wing nut at the top of the tool on traditional gauges or on some more recent designs via a locking mechanism on the end of the handle (much better as it's not in the way!). 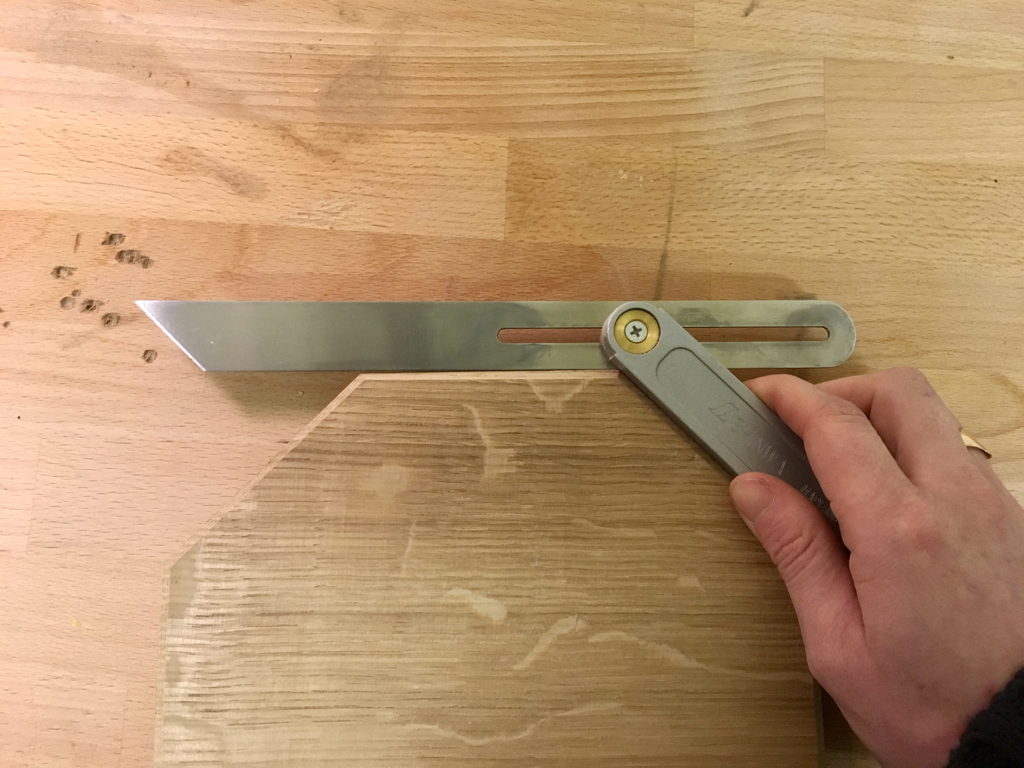 Japanese Shinwa bevel gauge in use Here you can see a Japanese Shinwa bevel gauge being used to check the angles on an octagonal oak board. 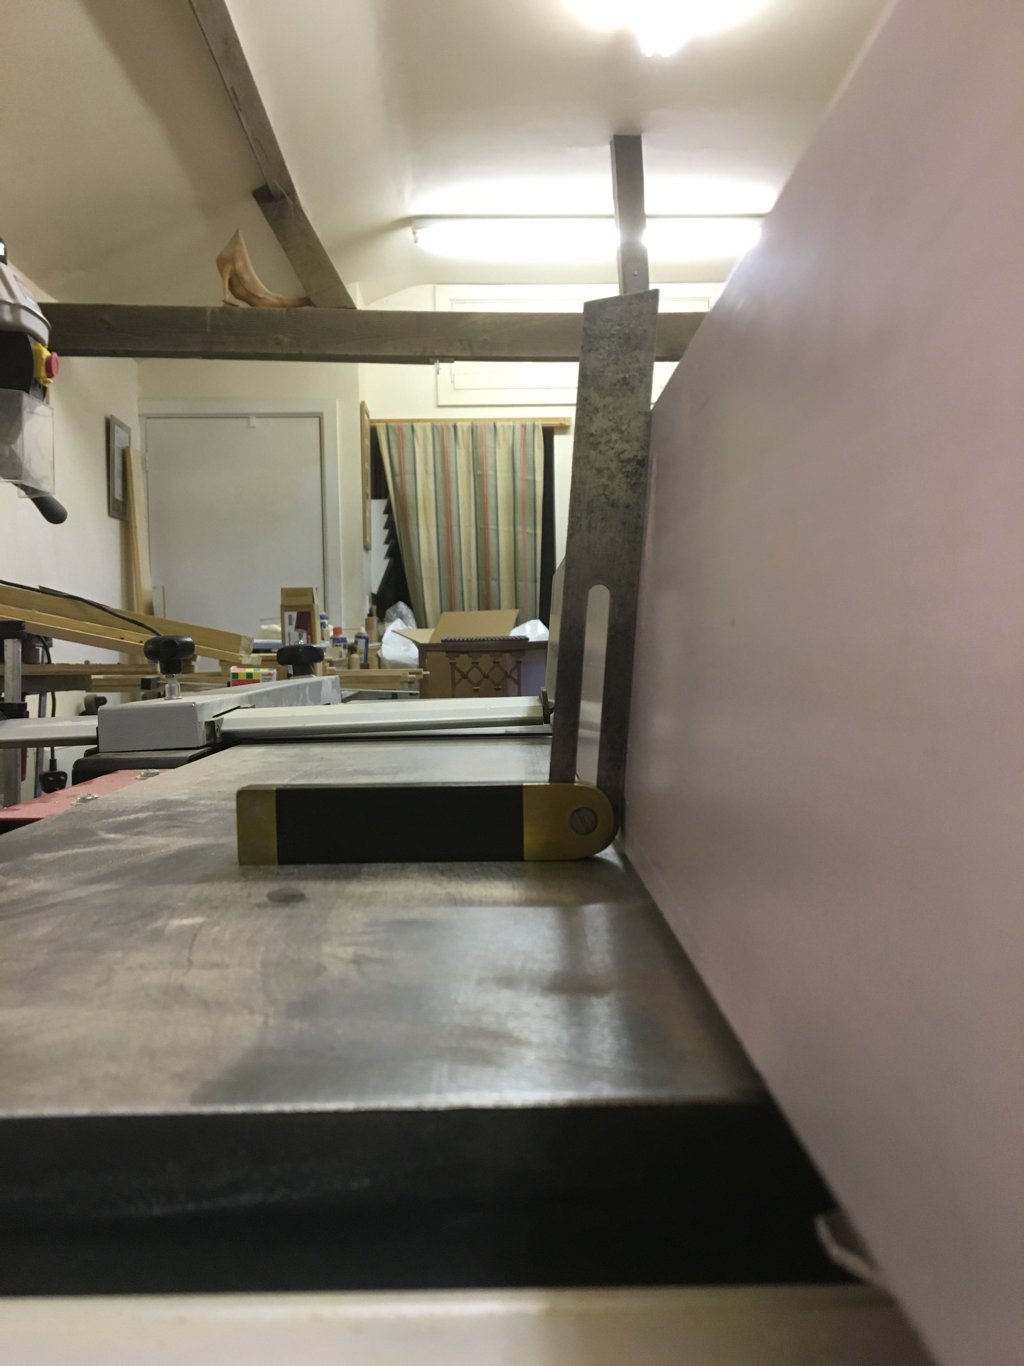 Setting the planer fence at an angle The bevel gauge is also used to set fences on machinery such as planers, table saws and mitre saws to the required angle.
That is all for January! Look out for February's blog post soon! Welcome to the final Tool of the Month blog post for 2016! This is month it's a quick look at the shoulder plane! 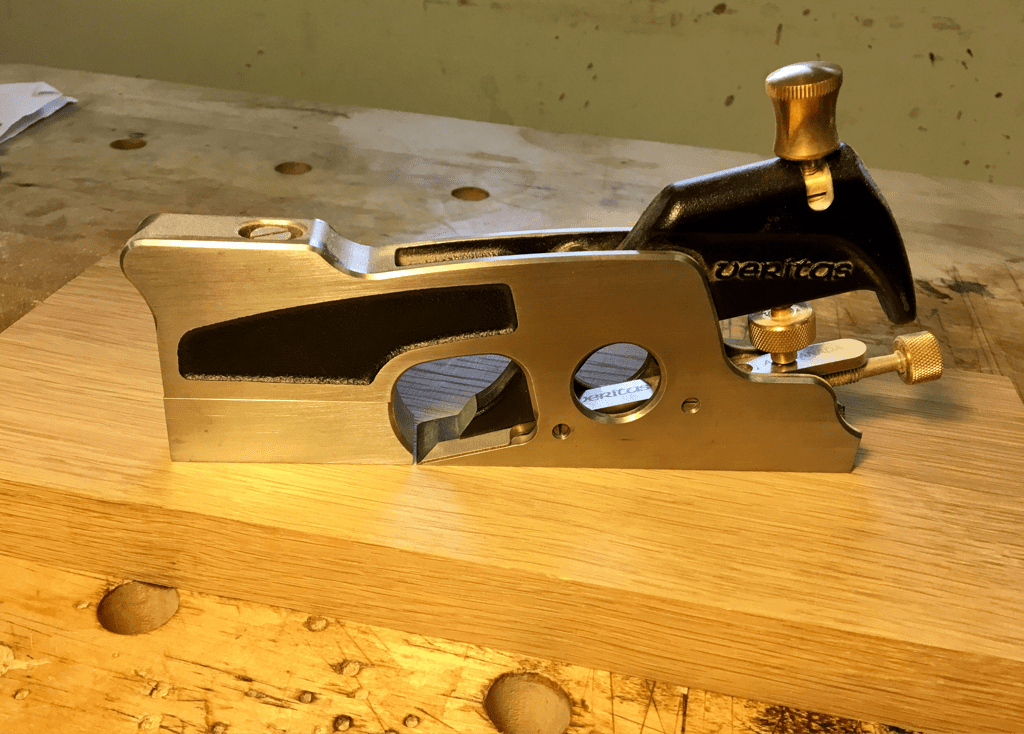 The shoulder plane is designed to take light cuts on end grain and for paring across grain. It is mainly used for cleaning and fine tuning tenons so they fit perfectly in the mortise.  The blade can be adjusted flush with either side of the plane's body, this allows the blade to trim right up to the edge of the workpiece. In the above image I am using the shoulder plane across the grain to clean the tenon face by removing the saw marks.  Here I am now using the plane on its side to very carefully pare the shoulder line back to the knife line. The low cutting angle allows me to really fine tune the shoulder without worrying about chatter and tearing out the grain.
The shoulder plane can also come in handy for other aspects of furniture making, for example it can be used to make moldings and small rebates. That's all for December, and for 2016! Happy New Year 🎊 Welcome to November's Tool of the Month blog post, this month it's a quick look at the Scraper Plane!  The scraper plane is used for final surface flattening and smoothing. Unlike a normal smoothing plane it's blade is set to scrape the surface rather than cut it. This means that it can tackle timbers which are highly figured without tearing out the grain!  In the above photograph you can see how the blade is set, the blade angle is ground at 45° and a small hook can be added by using a burnisher. A simple card scraper works in a similar way, but these planes are much more controllable and comfortable for larger surfaces such as table tops.
Card scrapers and how to sharpen them will be featured in a future blog post! I have two scraping planes, one small, open sided version with tilting handles made by Lie Nielsen and another larger plane with an adjustable cutting angle made by Veritas. Thats all for November, look out for December's Tool of the Month blog post in a few weeks time! Welcome to September's Tool of the Month blog post, this month it's the tape measure! 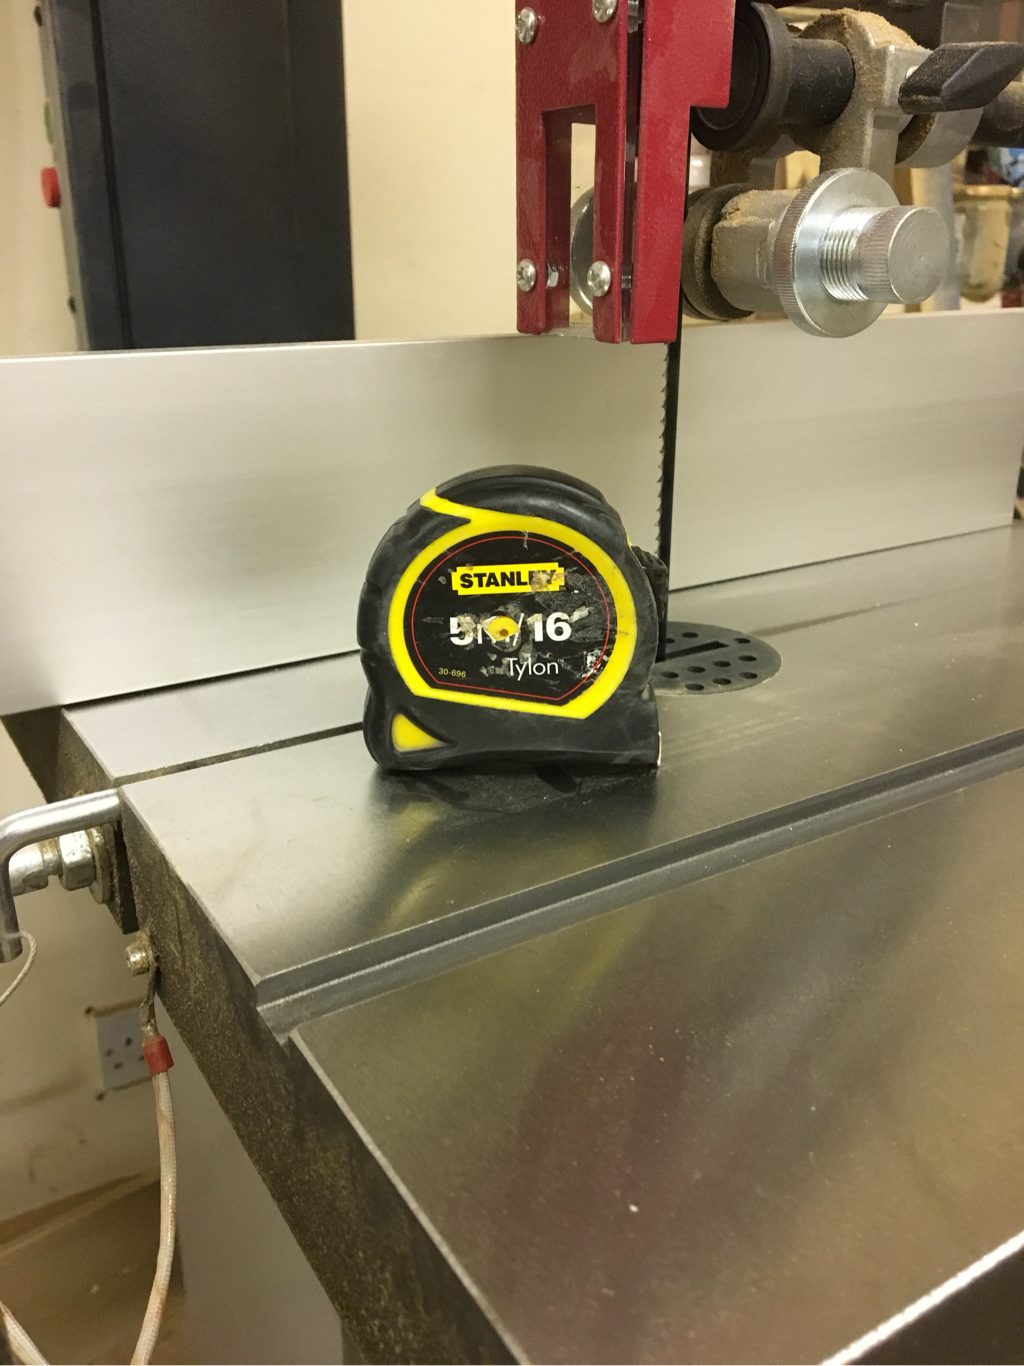 The tape measure has got to be one of the most common and vital tools for woodworking! Todays tape measures can trace their heritage back to 1868 when A. J. Fellows filed a patent for his rather a crude sprung tape measure design. It wasn't until the 1920's that they became mass produced. 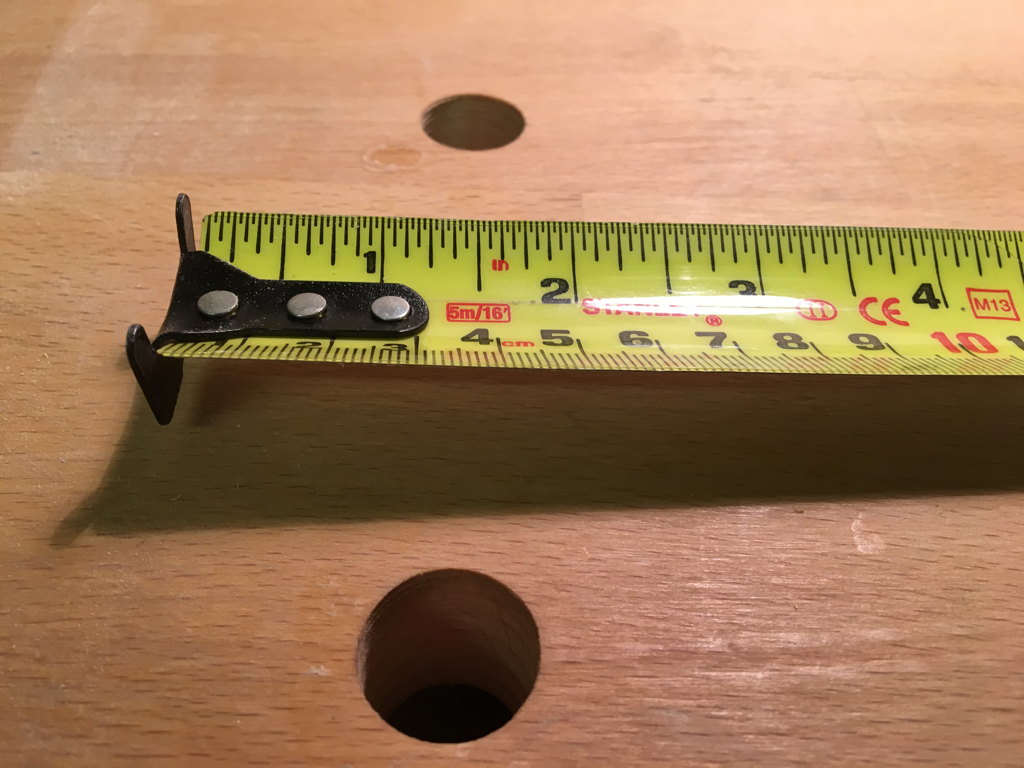 I have been using Stanley tapes for years, they are generally pretty consistent and of good quality. Plus being bright yellow they are also easy to spot in the workshop! 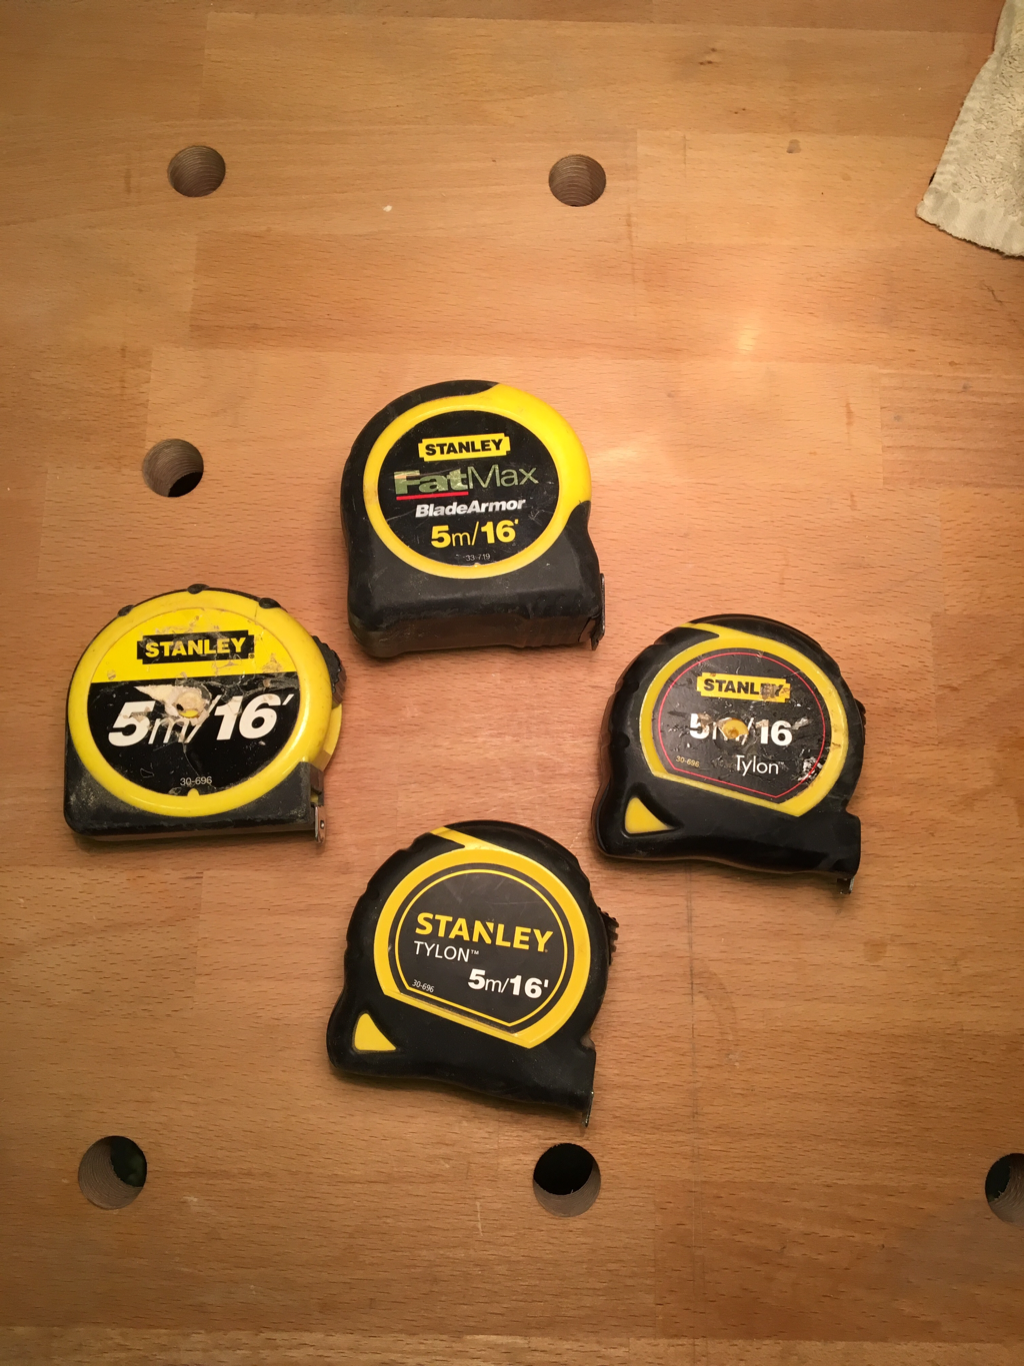 One thing worth taking into account when working to precise measurements and owning several tapes, is to only use one tape measure for each project. This avoids any tape to tape inconsistencies as it's so easy for the end of the tape to get knocked thus throwing the measurements off by a fraction of a millimeter.
Thats it for September! Keep an eye out for Octobers Tool of the Month. Welcome to August's Tool of the Month blog post, this month it's the Lie Nielsen no 62. 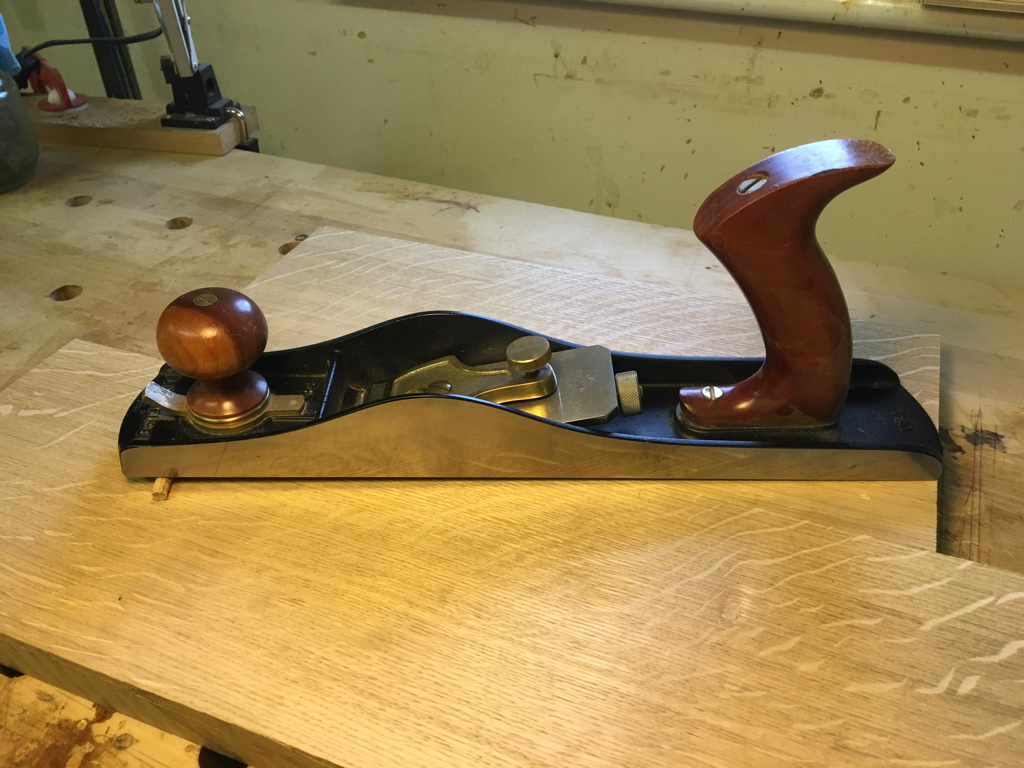 The Lie Nielsen no 62 is a low angle jack plane, which is different to standard bench planes as the blade is used bevel up and bedded at 12° like a block plane. A 'jack plane' is a plane that can be used as an all rounder, so it must be able to do rough fast leveling as well as light fine smoothing. The No 62 can do this and a lot more, making it a very versatile tool! 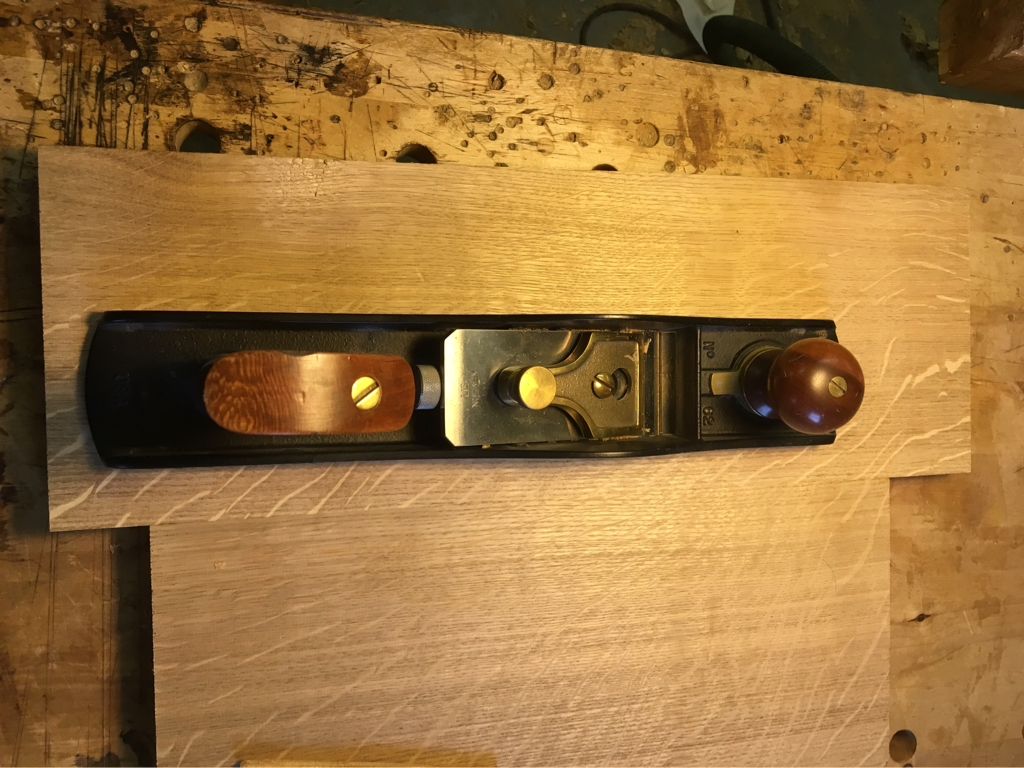 Birds eye view of the No 62 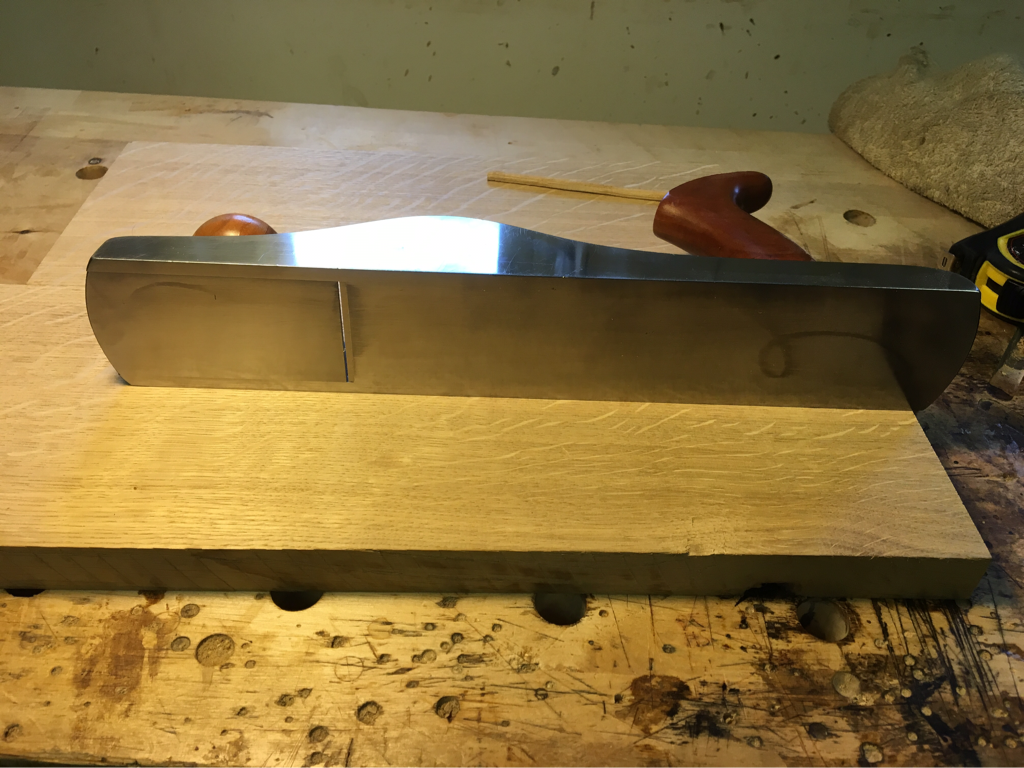 Showing the planes sole with its adjustable mouth. Firstly with the standard blade the low cutting angle gives a slicing cut which works better on hard end grain. This plane works brilliantly when used with a shooting board (see earlier blog posts). 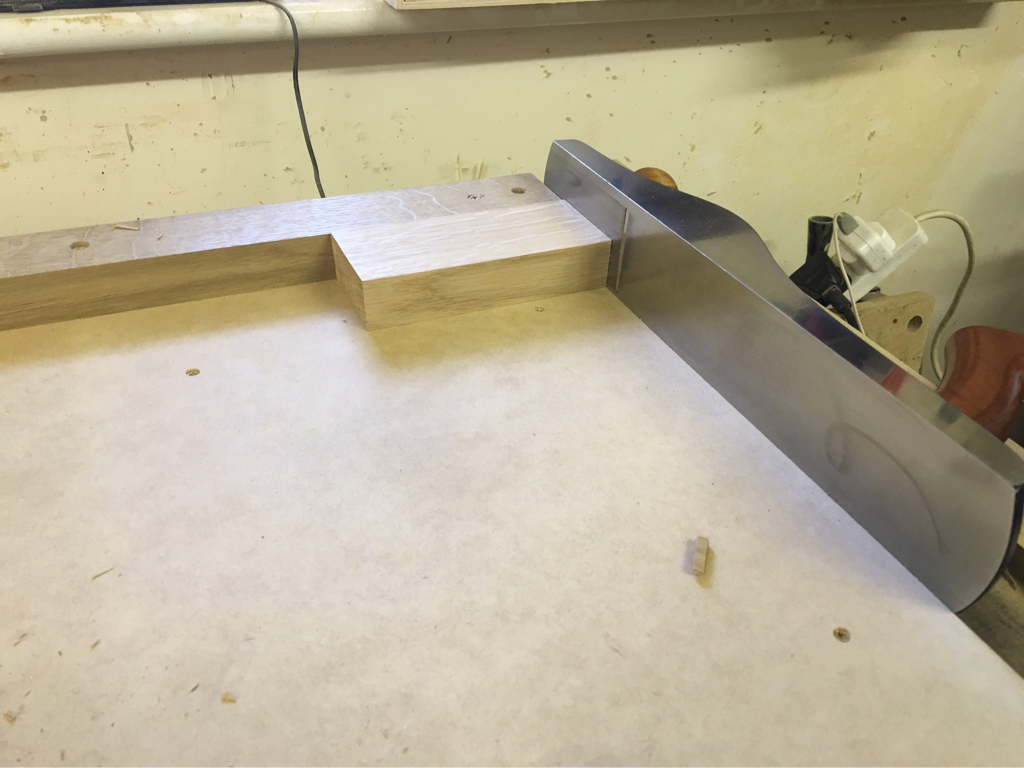 However If you were to regrind the blade at 30° the cutting angle would become 42° (30° + plane bed 12°) which is pretty close to a standard bevel down plane (45°) this works well for general planing requirements! 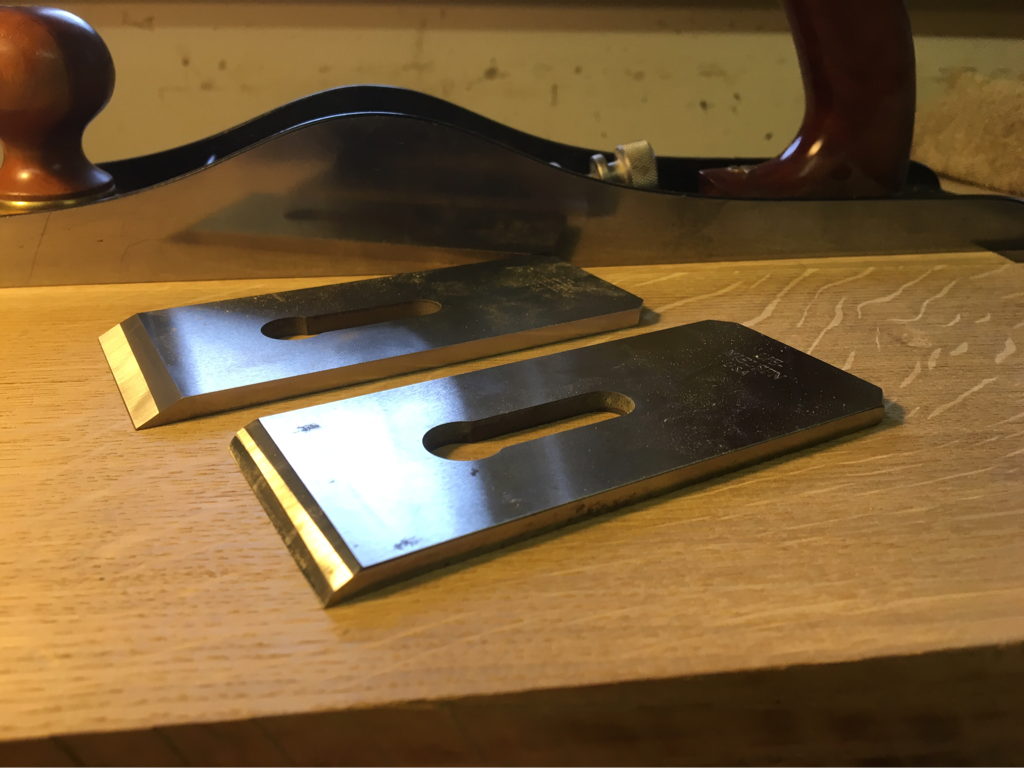 Blades with different bevel angles. Now for really awkward tearout prone timbers resharpening the bevel at 50° gives an effective cutting angle of 62°. This gives the plane a scraping cutting action giving nice clean cuts in even the most interlocked of grains.
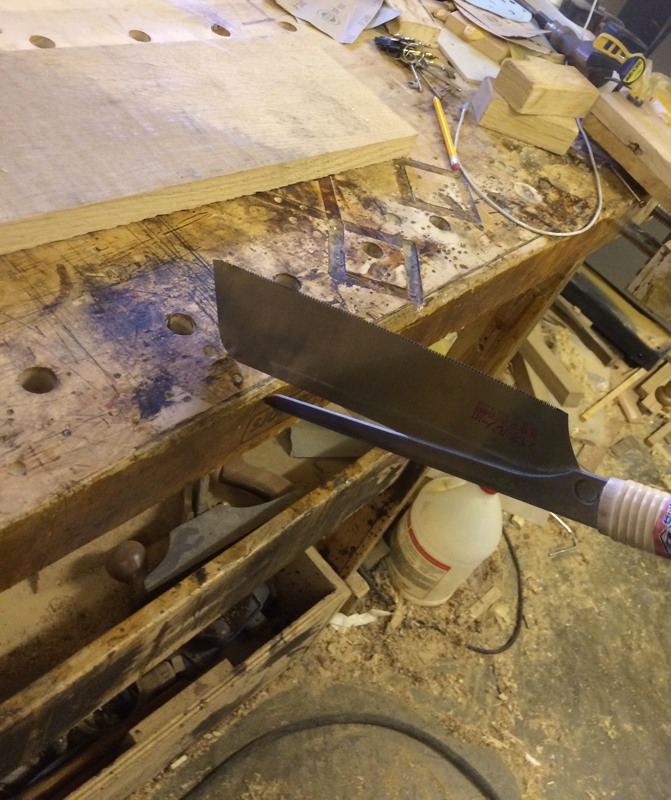
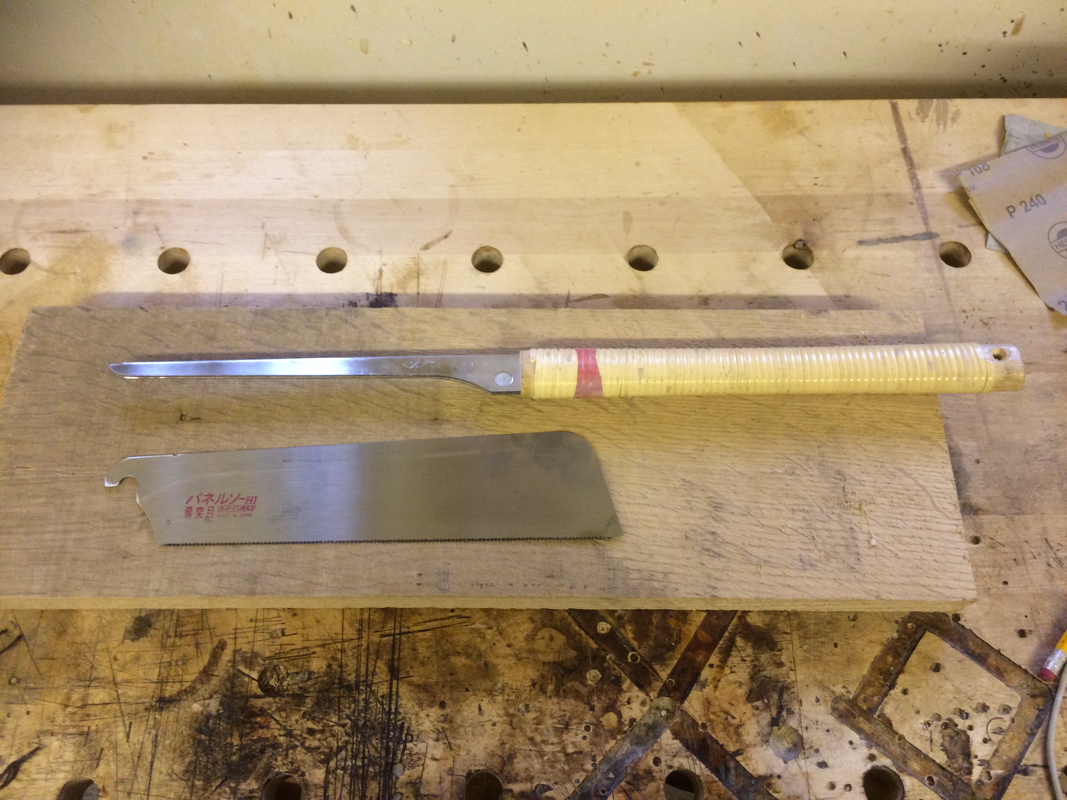
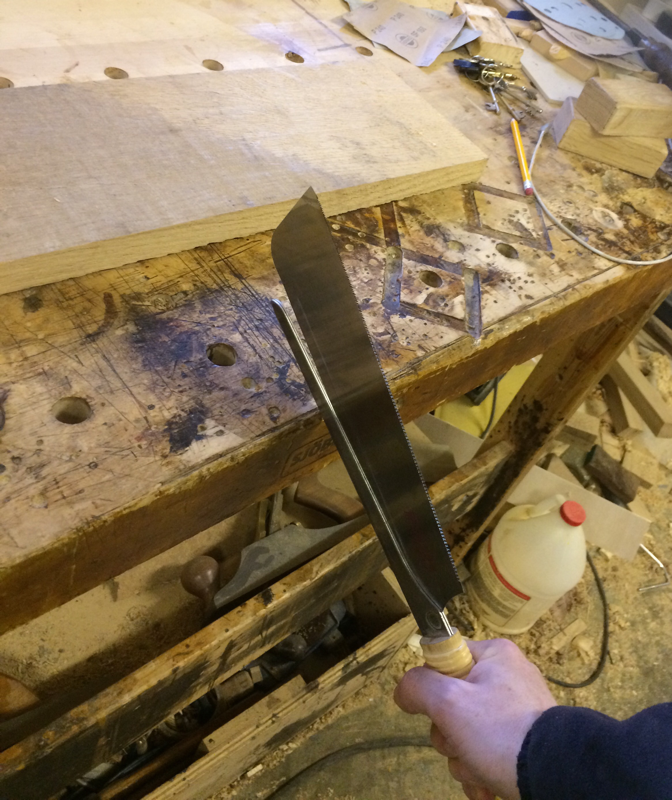
I have two blades for my no 62, one is sharpened for slicing end grain and the other is 50° for taming tearout. Having more than one blade saves a lot of time! That's all for August, look out for September's blog! Welcome to July's Tool of the Month blog post. This month it's the Marking Gauge! 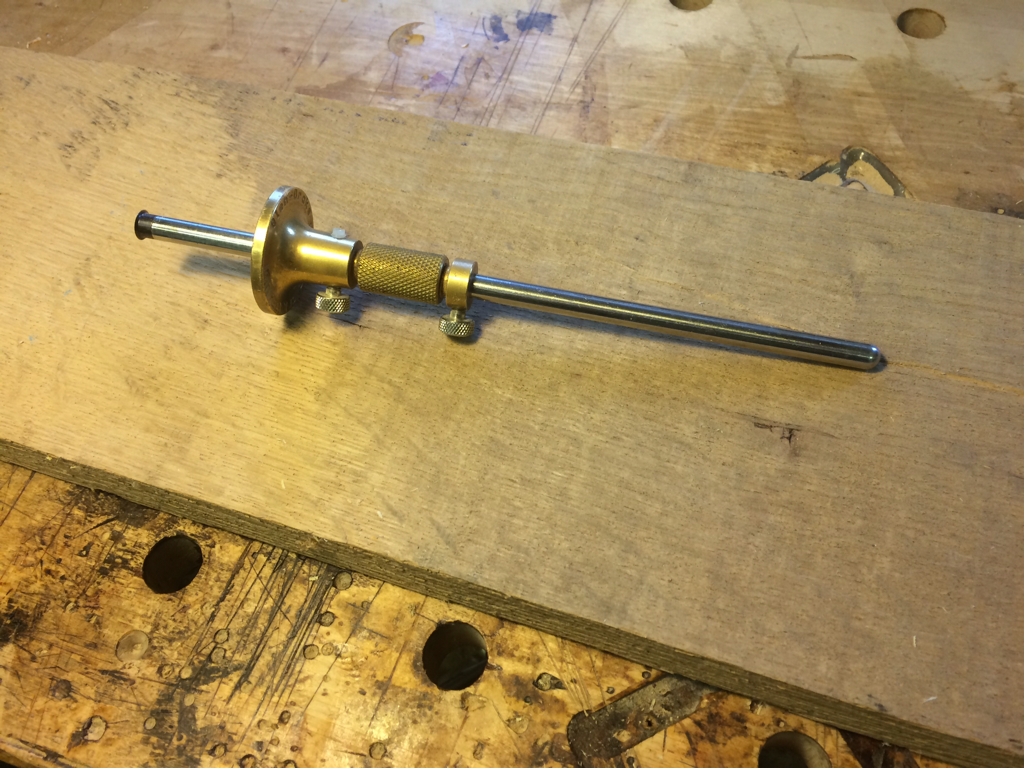 Tite-Mark marking gauge. The marking gauge is one of the most important tools in furniture making, it's used to mark out dovetail joints, mortice and tenon joints, help with planing and can also be used to cut veneer! This particular gauge is made by American company Glenn-Drake Toolworks. Made from steel and brass, it's very different from the more commonly used wooden marking gauges. One of the main advantages of this design is that it has a micrometer type adjuster this allows you to dial in adjustments exceedingly precisely, which also means settings can be easily repeated. 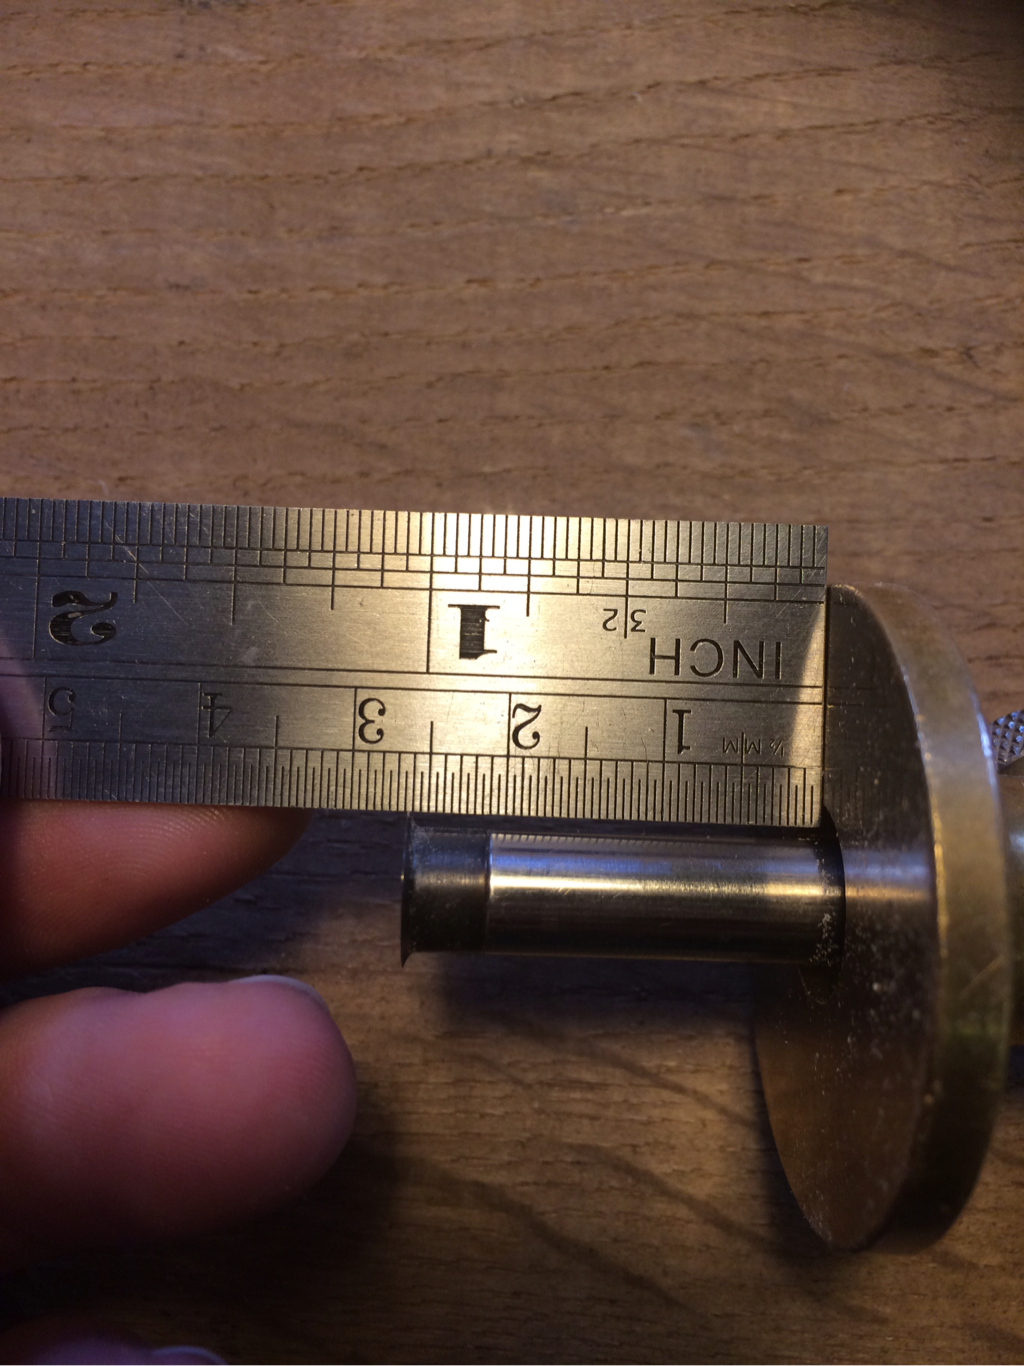 For marking out dovetails this marking gauge is particularly useful as the cutting disc leaves a very crisp line, this allows the chisel blade to use the shoulderline as a secure reference while cleaning up from the saw. 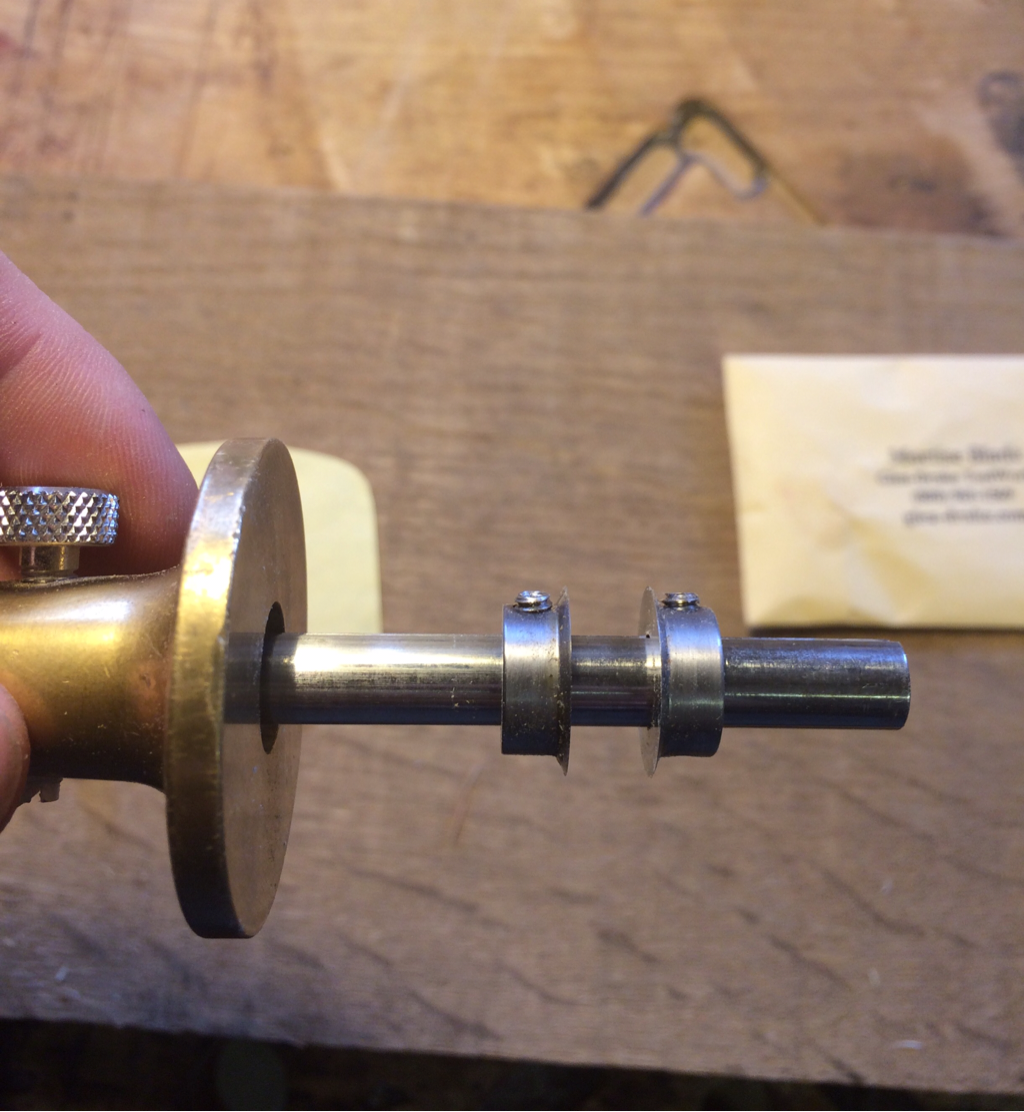 The Tite-Mark gauge also has some extra cutting discs available as optional add ons. In the above photograph morticing discs have been fitted, these are set to the width of the mortise chisel then the grub screws are tightened. The fence can then be set and the mortice marked out. 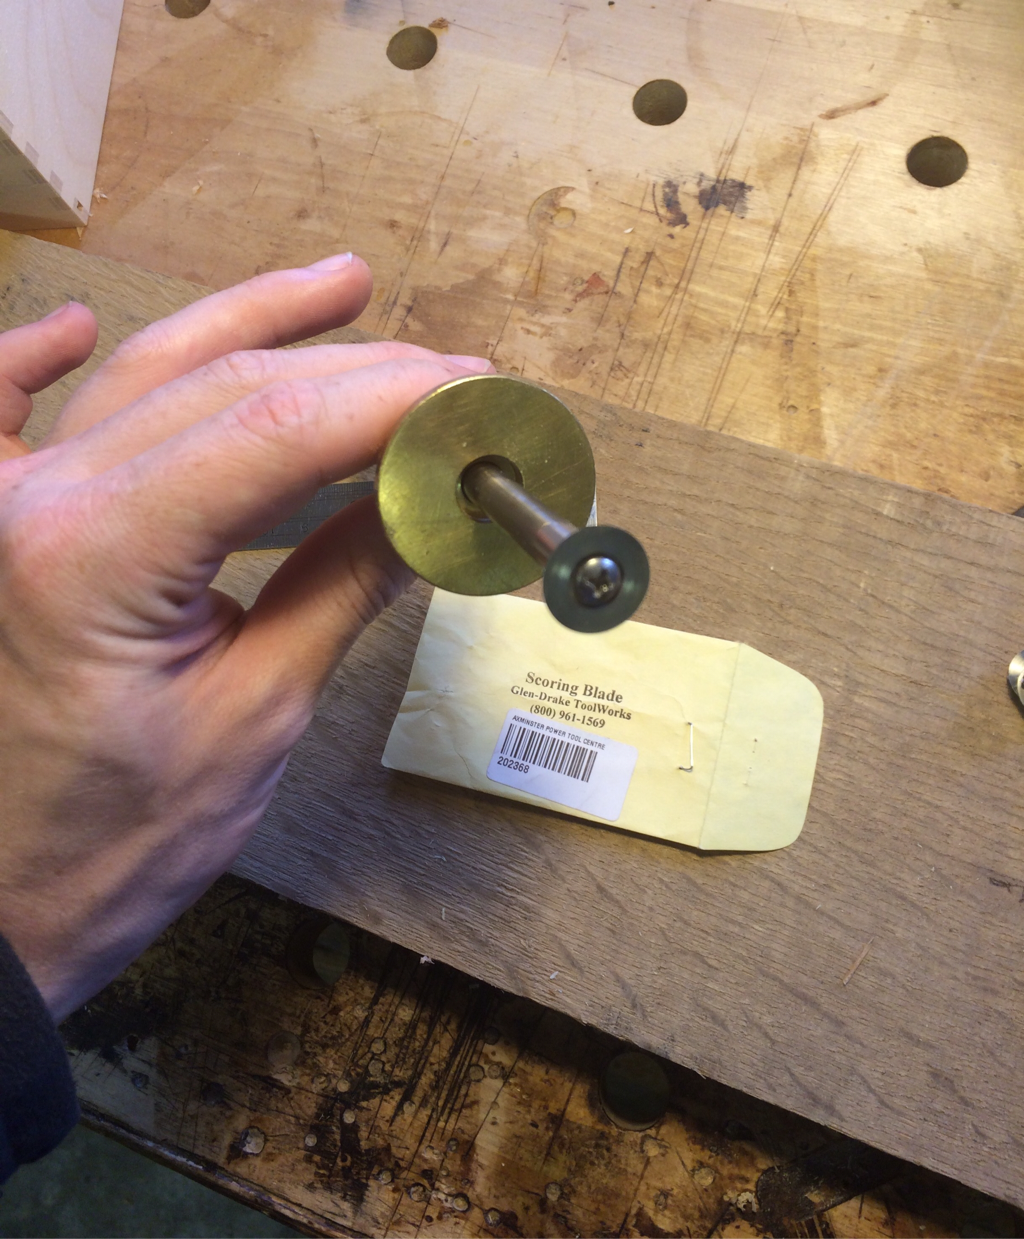 Above is the final optional blade, this one is a scoring blade. Particularly handy for scoring deep lines and cutting veneer. Thats all for July, look out for next month's blog post! Welcome to Junes Tool of the Month blog post. This month it's the Dozuki-me (Japanese tenon saw)! 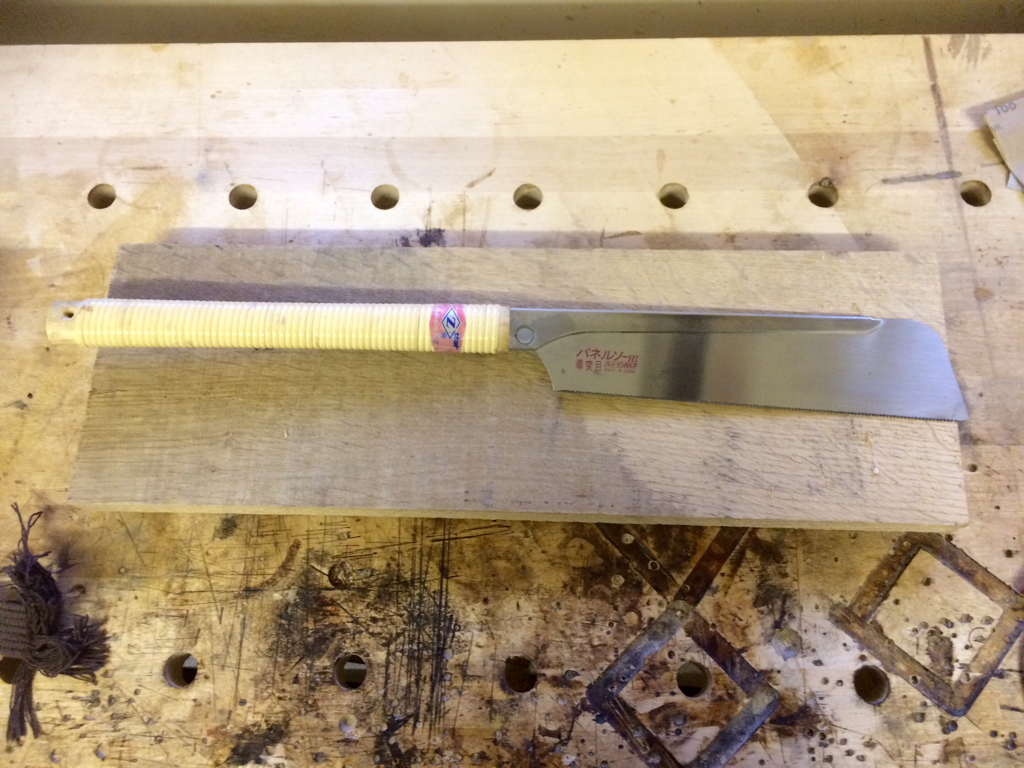 The Dozuki-me is a Japanese type of tenon saw, used for precise joint cutting. The main difference between a Japanese saw and a traditional western saw is the blade. On a western saw the teeth are formed for a pushing stroke cutting action, the Japanese saw is the reverse cutting on the pull stroke. 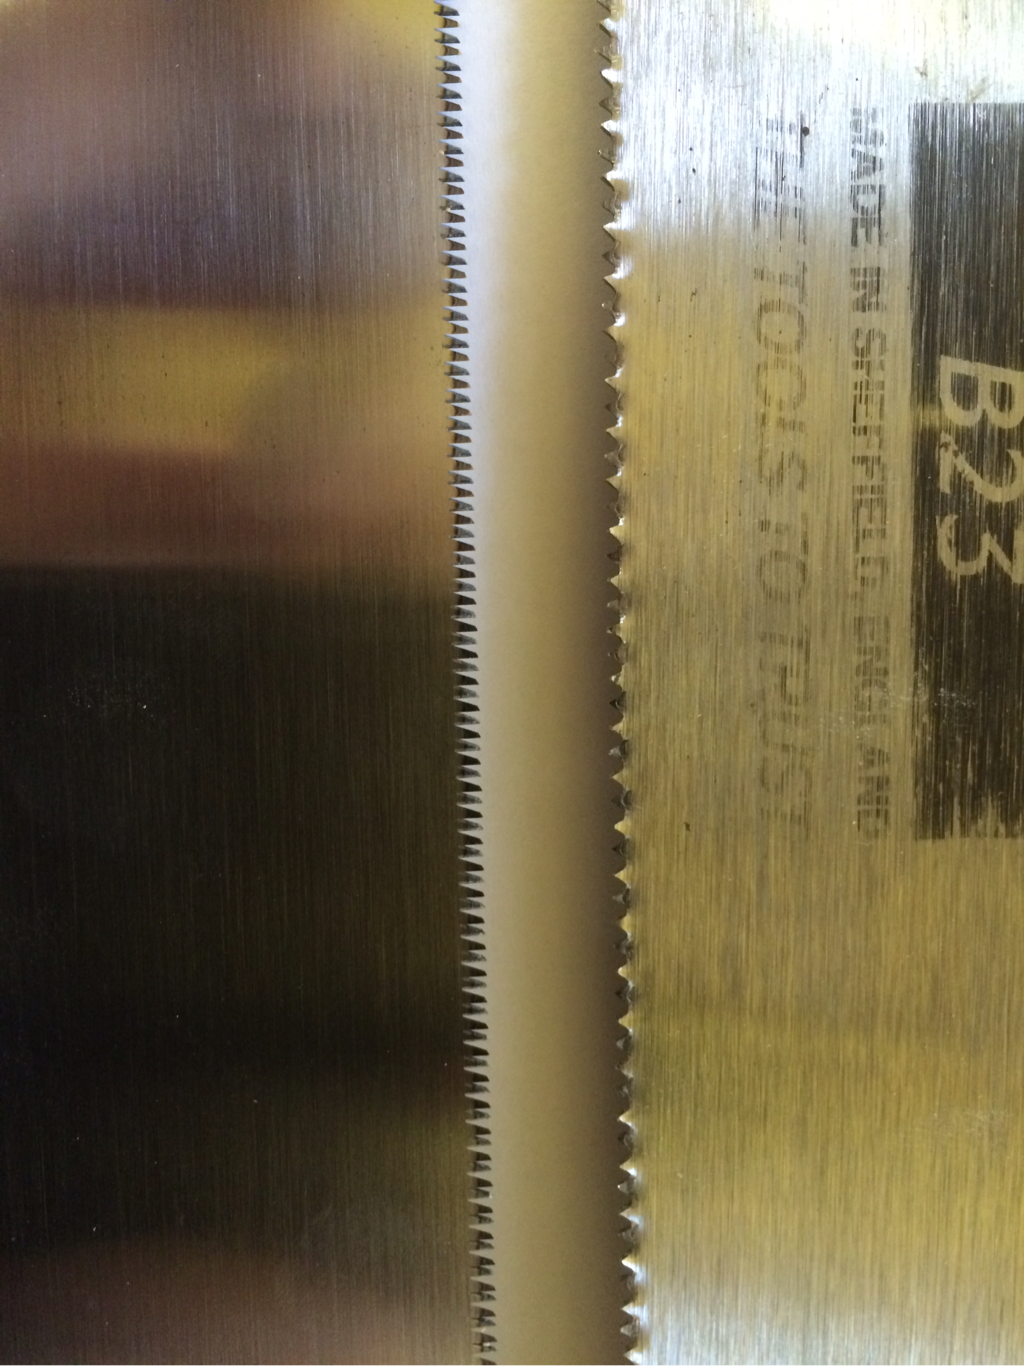 Showing the difference between Japanese (left) and western (right) saw blades. 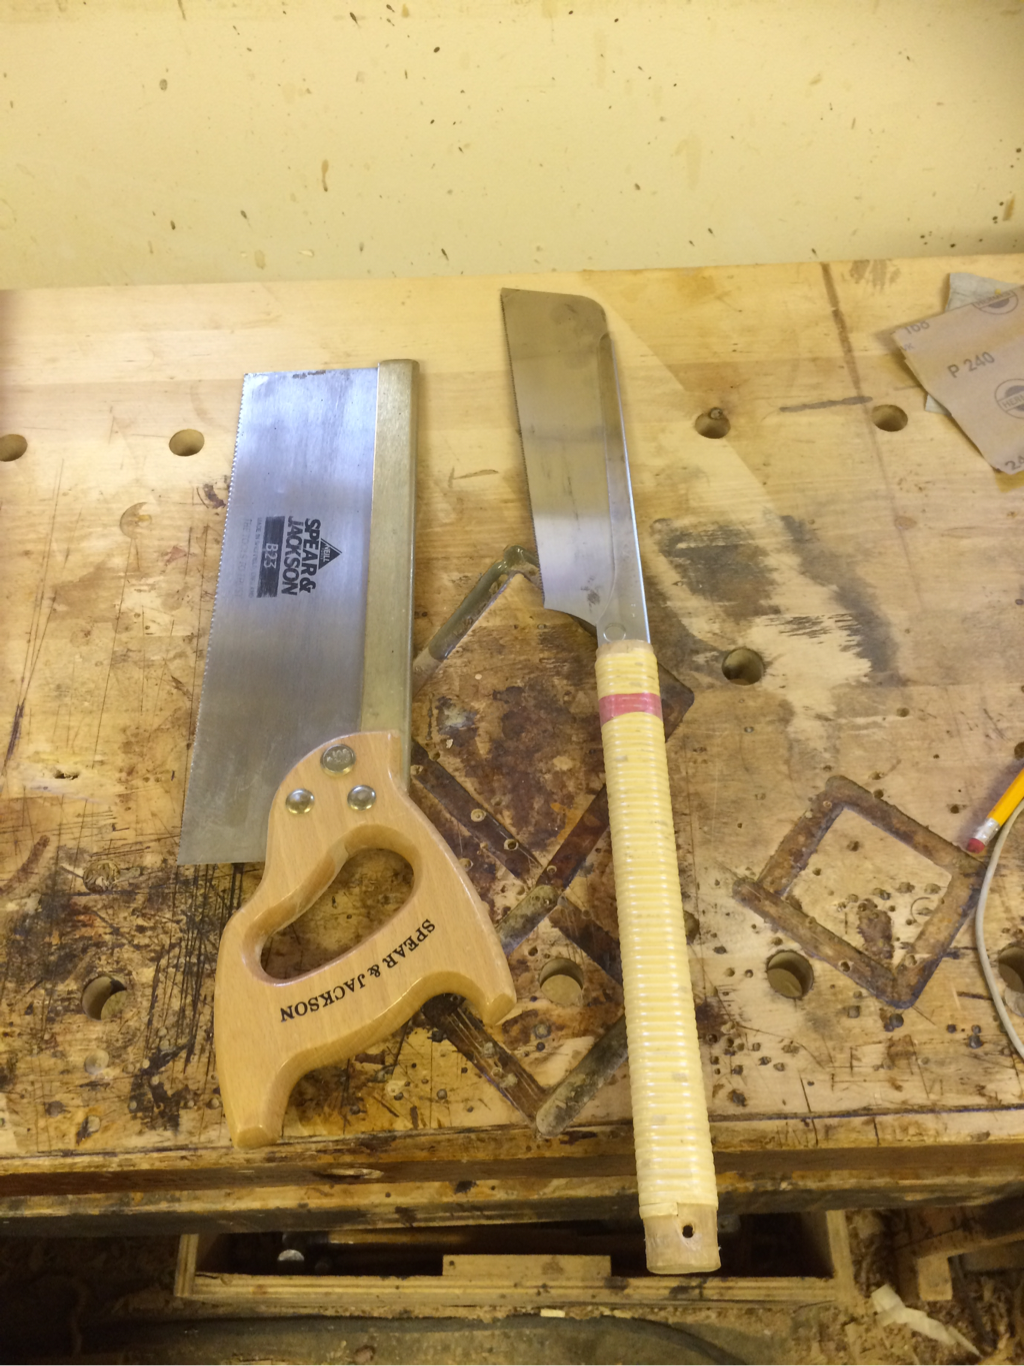 Cutting on the pull stroke allows the blade to be a lot thinner than that of a western saw as there is no compression force required. 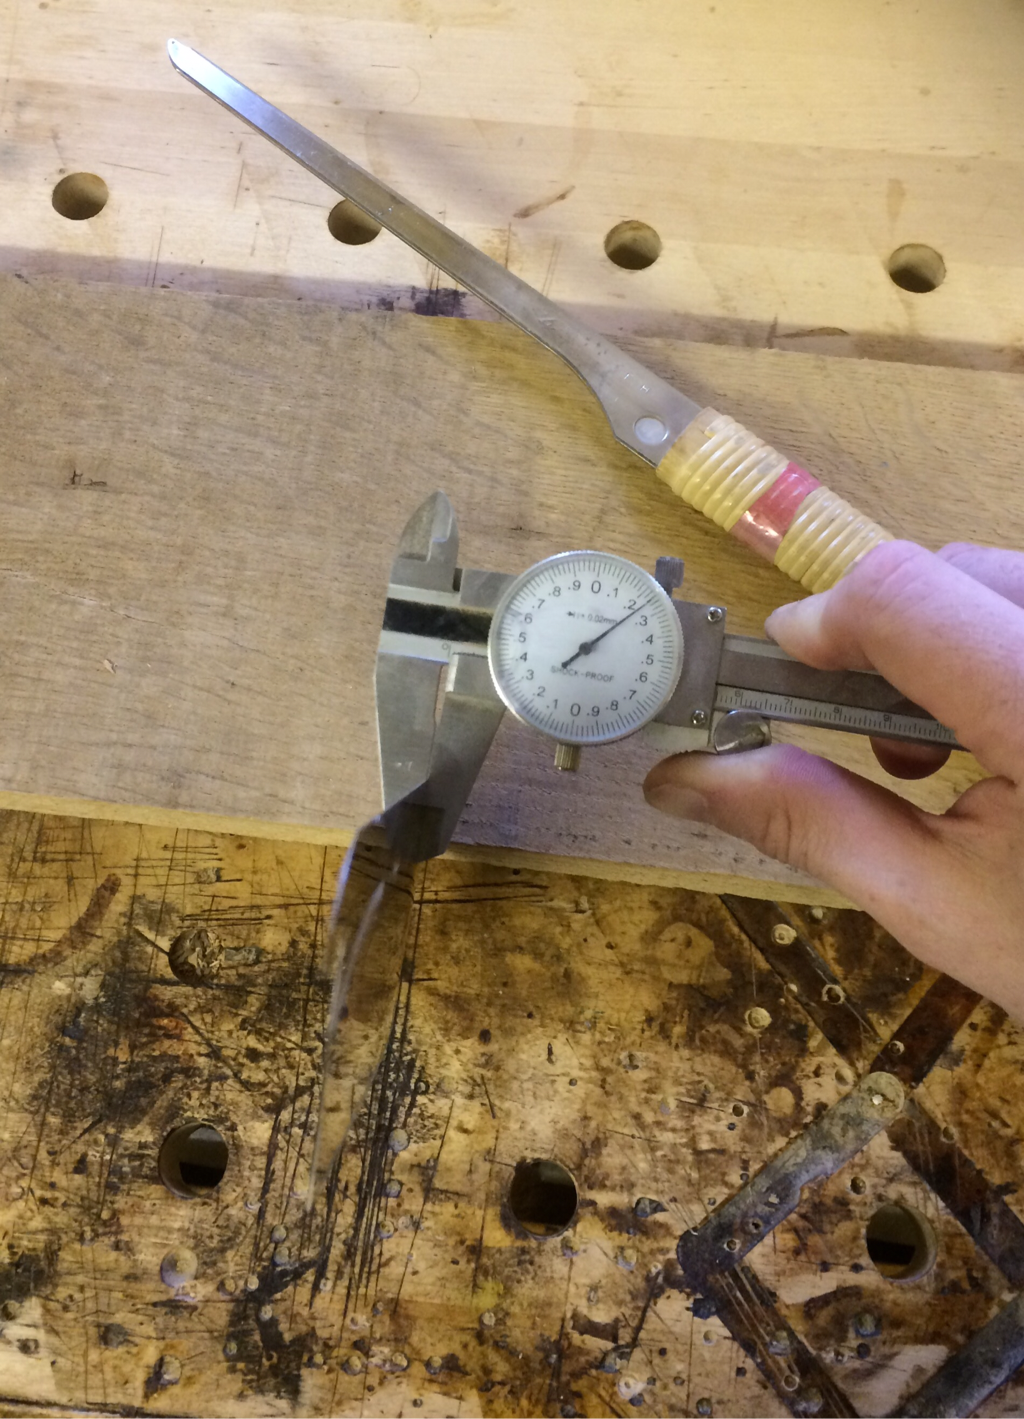 Showing how thin the blade is. This particular saw has a replaceable blade, because the teeth are so fine it would be very difficult to re-sharpen them. To remove the blade you tap the back of the blade against the bench until to becomes loose enough to pull out. To secure a new blade in place you tap the folded steel saw back/guide against the bench until the blade is firmly in place. The Dozuki-me is excellent for fast accurate cuts. While the pulling action takes a little getting used to, the reduction in energy required and the fineness of the saw marks left behind are well worth the effort!
That is it for June, look out for next month's 'Tool of the Month' post soon! Welcome to the May's Tool of the Month blog post! This month it's the Shooting board plane! 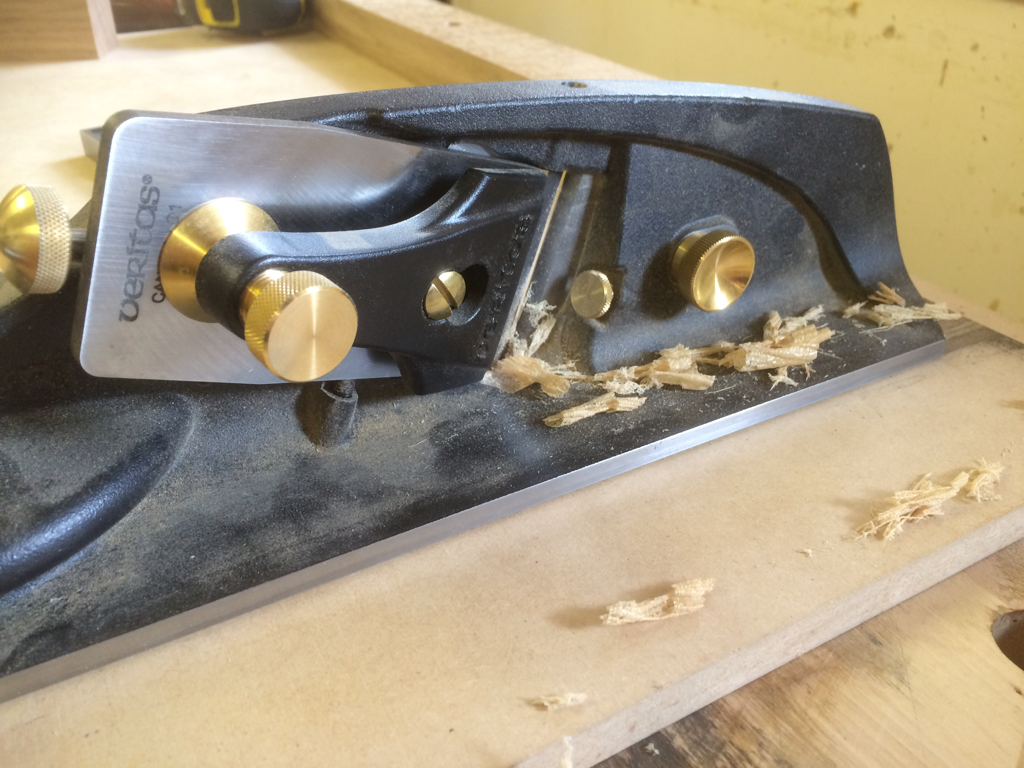 The shooting board plane is a specialist tool used to square the edges and ends of pieces of timber. Used with a jig called a 'shooting board' this tool can produce edges even more accurate and finer than a table saw can, which makes this hand tool ideal for fine furniture making! This plane is made by a Canadian tool company called Veritas. It's design shows some pretty modern thinking with the blade set at a low cutting angle and also skewed at a slight angle, this is gives the plane more of a slicing action which is perfect for trimming endgrain. It also offers some other handy features such as an adjustable handle, adjustable mouth and set screws to help set the blade more accurately. A standard bench plane or low angle plane will work absolutely fine with a shooting board, but a dedicated plane can save a fair bit of time setting up... Plus it's shiny and very cool! 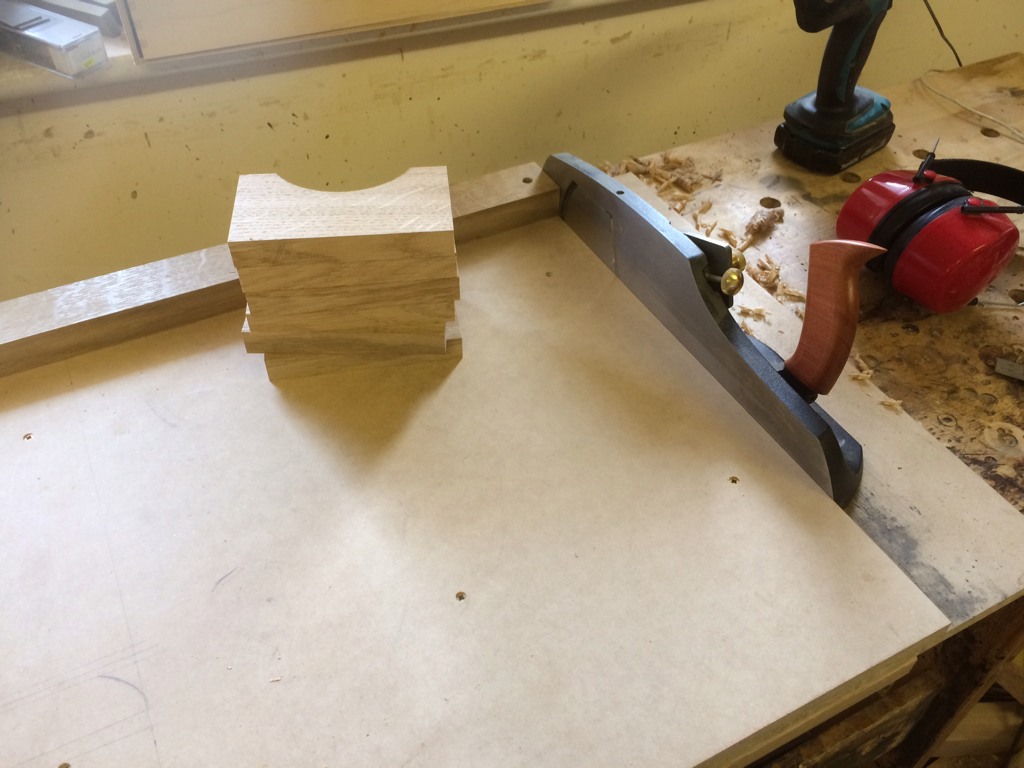 The shooting plane and board in action, squaring up oak table components. Thats it for May, look out for next month's post!
Welcome to April's tool of the month blog post! This month it's the no 4 1/2 smoothing plane! 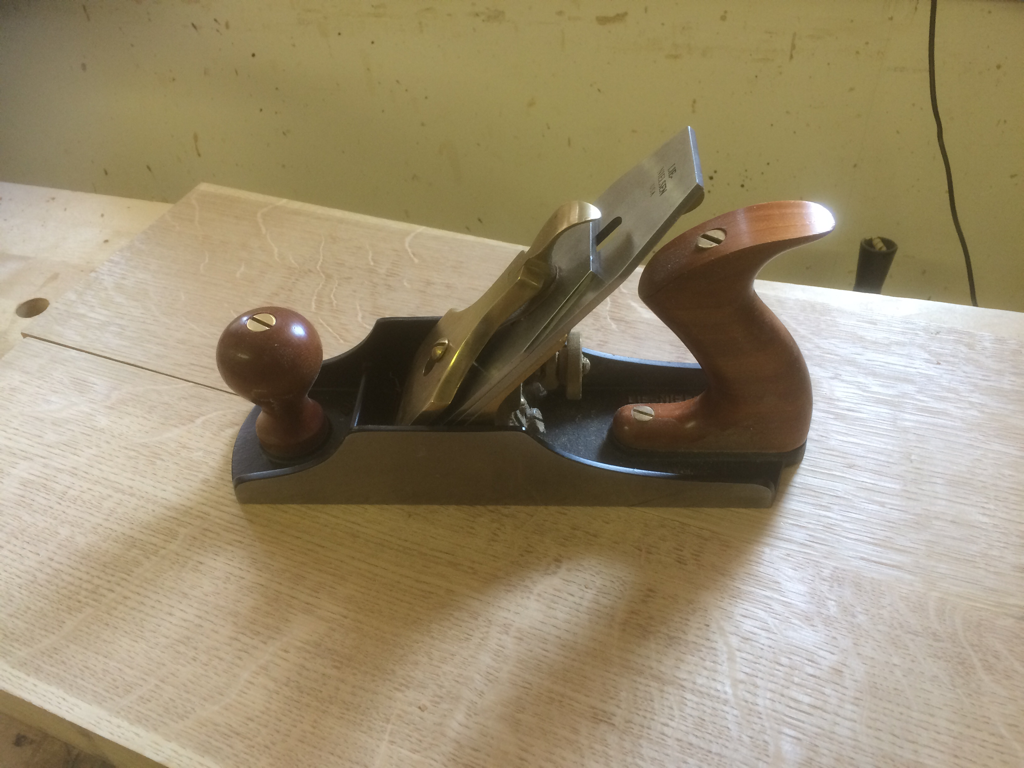 The number 4 1/2 smoothing plane is one of the most used hand planes in my workshop, almost every piece of furniture that leaves my workshop will have been on the receiving end this tool. The smoothing plane is generally the final bench plane used for surface preparation prior to the assembly and polishing of a piece of furniture. It's a short bodied plane with a thick blade and a finely set mouth designed to take very very thin shavings, leaving behind a smooth glass like surface that doesn't require sanding. My plane is made in the USA by Lie-Nielsen, it's fitted with a higher angle frog (York pitch) which increases the cutting angle from 45° to 50° this gives the cut more of a scraping action, and is very handy for reducing tear out on timbers with a difficult grain. 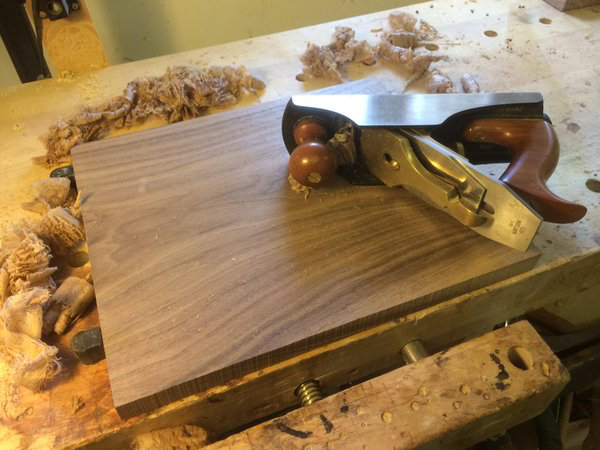 Planing some beautiful American walnut. That's it for April, look out for May's blog post coming soon!
|
About
Welcome to my blog! Here you can see what I have been up to in the workshop, gain an insight into my work and some of the many tools I use to make each piece of bespoke furniture. Archives
April 2024
Categories
All
|
 RSS Feed